Cement floors are more popular than ever and don’t need to cost a fortune. Here are three options for casting your own cement floor.
Tal Screedmaster
A plain screed floor is an attractive and cost-effective way
to achieve a cement look without incurring the cost of an expensive overlay.
There are various options available, including the Tal Screedmaster which is
usually installed under tiles or carpets; however, Heinz and Aletté-Johanni
Winckler used it as a finish in their Somerset West home.
Tal Screedmaster sets quickly and has built-in qualities
that prevent cracks, resulting in a smooth, level and hard-wearing floor
surface that must be sealed with a long-lasting anti-scratch coat (Tal UraSeal
WDS) or a special wax topcoat. The wax has to be applied several times a year,
depending on foot traffic.
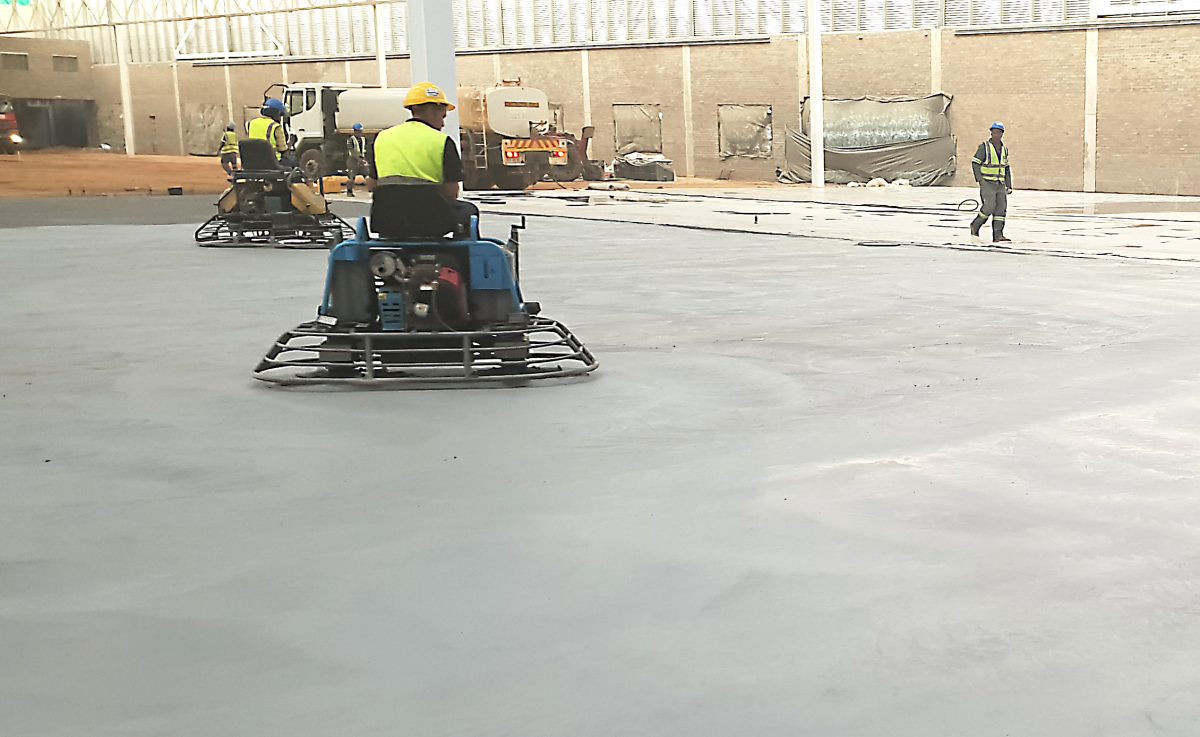
Installation
Apply two layers of a priming product such as Tal Floor
Primer and allow it to cure for 12 hours before doing the Screedmaster
installation. Once the Screedmaster mix is ready, pour it onto the floor to the
required thickness (from 3mm up to 16mm in a single application) and then let
it cure for 24 hours.
Cost
From R80/m2 (at 3mm thick)
It’s a DIY job!
Tal has a handy installation guide on their website.

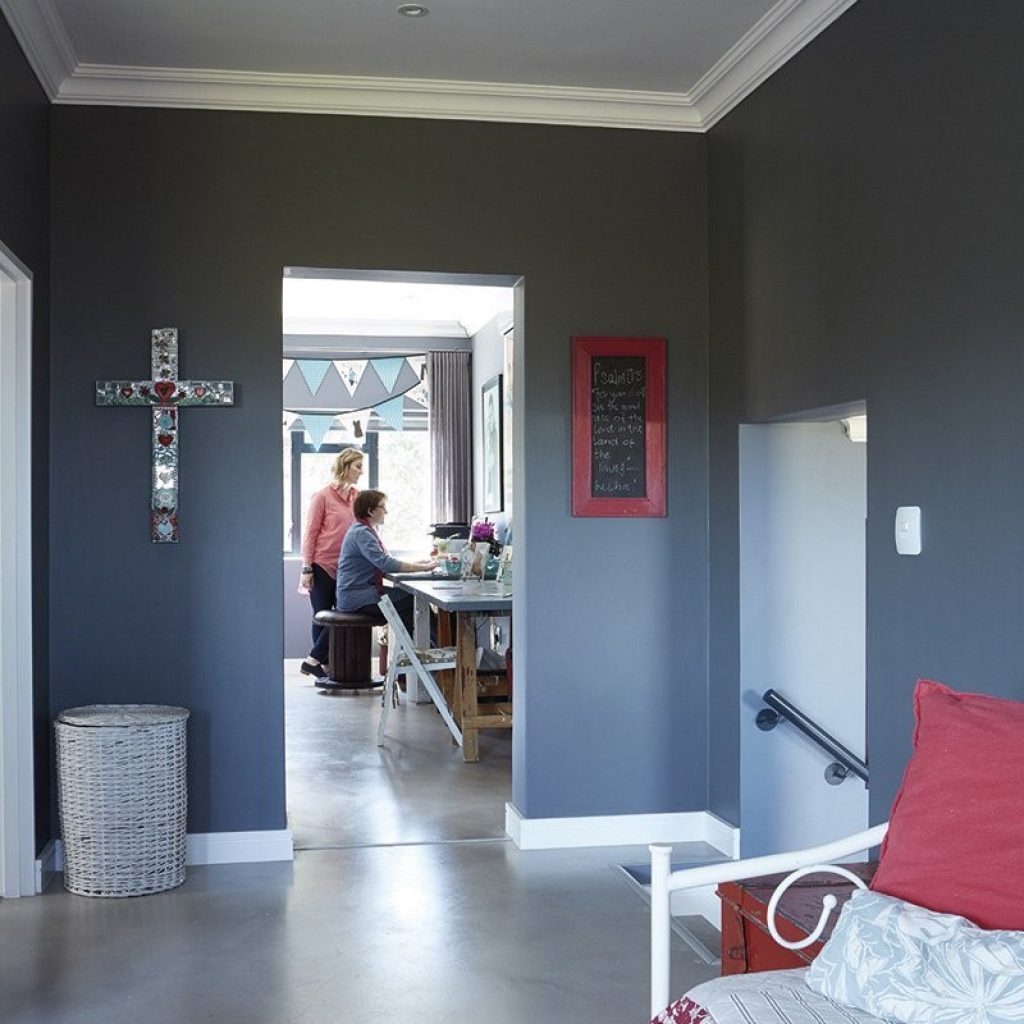
Technical Finishes Smooth ’n Patch
Smooth ’n Patch is a decorative, pigmented cement-based top
layer that has to be mixed before application. It is self-levelling and can be
applied over concrete or tiles, as was done in Fix it with Flair 2015
runners-up Anton and Julie Oosthuizen’s house in Greyton.
Installation
As with any cement floor, the surface should be primed with
Smooth ’n Patch Liquid or Seal & Strengthen. If you’re installing Smooth ’n
Patch over tiles, prepare the surface with Technical Finishes Probond, says
Chanté Mynhardt, sales and marketing assistant at Technical Finishes. “Smooth
’n Patch can be installed over any tiles, as long as they aren’t cracked or
damaged. They should be grinded first to get rid of the glaze and to ensure
that the primer can be absorbed into the tile.”
Once primed, apply the Smooth ’n Patch in a layer that’s
3–4mm thick. It dries fairly quickly (about 30–40 minutes, depending on the
size of the surface) after which the Smooth ’n Patch mixture has to be gently
hand-floated to ensure a smooth surface. Once this is done, allow the surface
to set overnight – curing takes at least 24 hours. The floor must then be sealed
with any of a variety of sealants, depending on your preference for either a
high-gloss or matte finish. It’s advisable to apply 2–3 coats of sealant.
Cost
Between R300 and R600/m2, including installation; prices
vary depending on the thickness of the application.
It’s a DIY job!
Using an approved applicator is highly recommended but Anton
and Julie did it themselves.
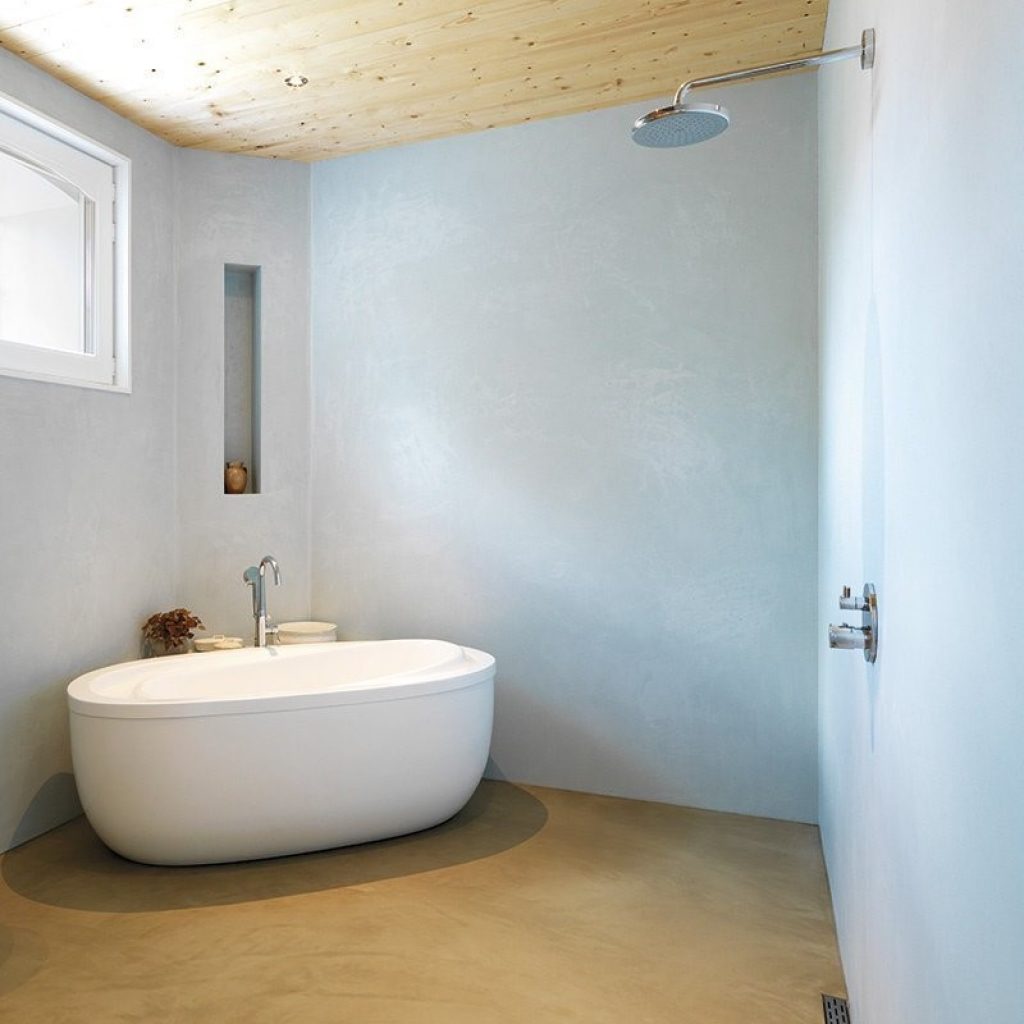
Coprox
Coprox Waterproof Dualcoat is both a cementitious overlay
and waterproof layer in one. It is applied onto a pre-existing screed using a
trowel to achieve a smooth skim coat finish. This application can also be done
on walls using a brush that creates a textured effect.
Installation
If applying Waterproof Dualcoat over a new screed, make sure
that the screed has cured for between 21–28 days and is completely dry. Allow
the Dualcoat to dry for 48 hours before applying two coats of Coprox Wall and
Floor Clear Sealer. Leave the floor to dry for a further 24 hours before
walking on it or arranging any furniture on it.
Cost
About R135/m2 (if applied±5mm thick
It’s a DIY job!
Coprox Waterproof Dualcoat is sold in 25kg bags andcomes with step-by-step instructionson the packaging. https://www.w24.co.za/PopCulture/Home/Homemag/3-diy-cement-floors-20190212